
Node.js Guide: A List of Top Node.js Frameworks, Tools, and IDEs
Created by Ryan Dahl in 2009, Node.js is an open-source platform built using the Google Chrome JavaScript runtime. It enables software and app developers to build fast and scalable web applications using just a few lines of code.
The official website of Node.js described it as:
“Node.js® is a JavaScript runtime built on Chrome's V8 JavaScript engine. Node.js uses an event-driven, non-blocking I/O model that makes it lightweight and efficient. Node.js' package ecosystem, npm, is the largest ecosystem of open source libraries in the world.”
The world of custom software development constantly evolves with new trends, techniques, and languages. But, with the Node.js library of modules, app development is significantly simplified. It provides quick and efficient solutions for back-end development and it integrates well with front-end platforms.
Web and network server applications written using Node.js are becoming more and more prevalent. Independent app and software developers, web design agencies, IT companies, and businesses both small and large utilize Node.js for various projects and applications.
We’ve collated a comprehensive guide on the top frameworks, tools, and IDEs for Node.js to further streamline your workflow.
Frameworks for Node.js
Node.js frameworks are increasingly gaining prominence in web programming and application development. Their main objective is to get you up and running as fast as possible by providing functionality that is not available in Node.js out of the box. These features come in many flavors and most frameworks will try to envelop all you need to deliver your project.
Here are the latest framework innovations that expand the features and functionality of Node.js.
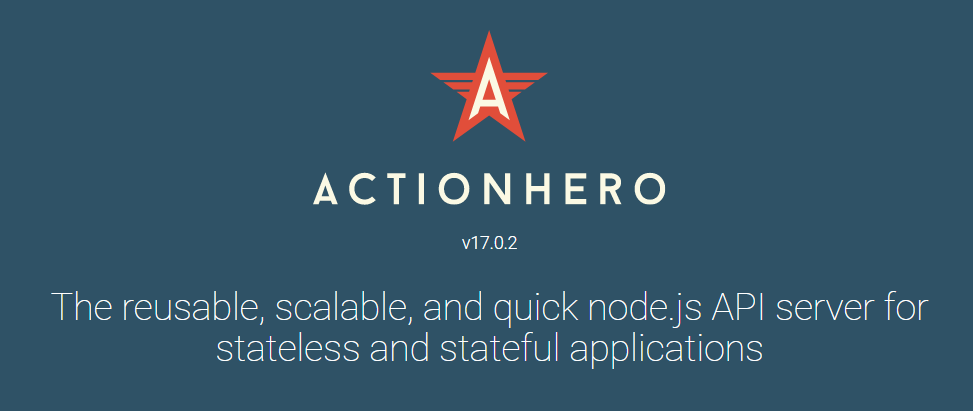
1. ActionHero
ActionHero is a Node.js API server and framework that offers custom packages for companies of all sizes with high-end customer support.
At it’s core it allows you to write a RESTful API that you can consume either via HTTP, WebSockets or plain TCP Socket connections. You can also do this by using a front-end ActionHero Client that’s based on Primus that the framework provides.
You can use it to easily provide a real-time information to your users and even allow them to talk to each other using chat rooms that are natively supported by this framework.
This framework also provides scalability out of the box, as such, it relies on Redis in order to communicate with other nodes in the network.
Top companies such as Riot Games, Samsung, Task Rabbit, and Madglory utilize the ActionHero framework.
2. Derby.js
Derby is a full stack MVC framework used for modern web applications. A differentiating feature of Derby is that it allows you to sync JSON and text data between browsers, servers and databases for real-time collaboration.
If you have a heavy front-end then, then this framework is for you, as it supports server side rendering.
Additional features include offline usage, conflict resolution and template bindings to simplify writing multi-user applications.
3. Express
Distributed under the MIT license, Express is one of the most fundamental Node.js frameworks. It offers a flexible structure for processing requests. It integrates well with several community developed modules that cater to most project requirements.
This minimalistic framework is very lightweight, as such, it’s focused on performance above all. It also allows you to easily scaffold a project using a generator so that you can jump right into writing code.
Its features include simplified multiple routing, template engines, middlewares, and more.
MySpace, Geekli.st, Klout, Segment.io, and Yummly all use Express.
4. Hapi
Hapi is capable of building full websites and enterprise level functions. Walmart developers encountered extensibility and maintainability issues from the Express framework as their application grew in size. They needed another framework that can accommodate the the Black Friday influx of customers. Thus, Walmark developers created Hapi.
However, developers commonly use this rich framework for building services that pull data from the back-end and serve it efficiently, all while keeping well maintained code base.
Features include input and response validation, server-side caching, sessions, cookie-parsing, logging and others. Hapi also developed dozens of API development plugins for documentation, authentication, and other functions. Big brands such as Macy’s and Disney use Hapi.
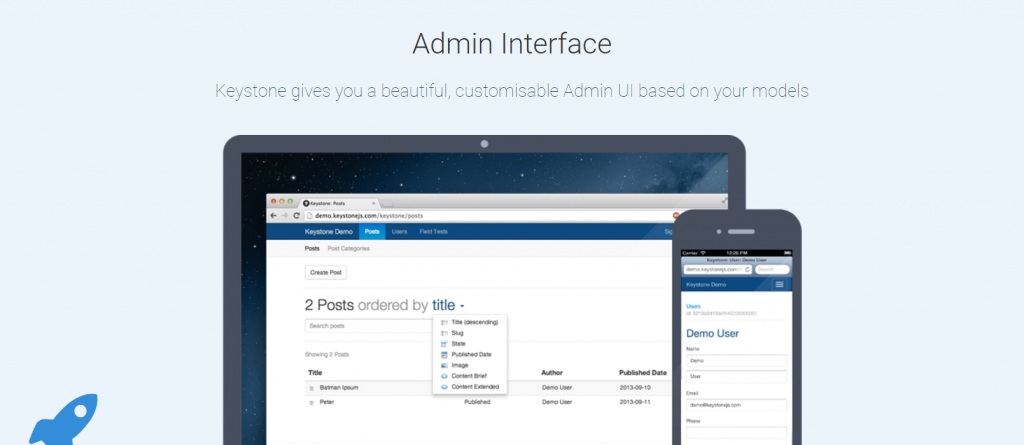
5. Keystone
Keystone is another full stack, open-source framework based on Express, with a few other libraries. It can be used to create database-driven websites, applications, and APIs in Node.js. It’s stack includes the Express framework and MongoDB as a database.
It’s main selling point is that it provides an auto-generated Admin UI to manage your database driven website. With Keystone, you get the best features of Express and Mongoose combined, resulting in a robust CMS framework.
6. Koa.js
Dubbed as the “next generation web framework for Node.js”, Koa.js followed in the footsteps of Express. It provides a lightweight Node.js framework for building efficient web APIs and applications.
Koa.js utilizes generated-based control flows to eliminate callbacks and minimize errors. Unlike most frameworks, Koa is more modular and relies less on middleware. However, plugin packages are also available for routing, compression, caching and more.
7. Meteor
Meteor is a full stack framework for web and mobile applications. It boasts of a subscription-based cloud deployment service called Galaxy, which enables developers to easily deploy their applications in the cloud.
Global companies using Meteor include Mazda, Ikea, Qualcomm, and PGA Tour.
8. Sails
Sails is an MVC framework ideal for customized, data-driven web APIs for businesses and enterprises. It’s known for its capability to simplify processes for real-time chat applications, dashboards, and multiplayer games.
This framework comes bundled with an ORM that boasts support for any database. It also provides an easy way to generate RESTful APIs.
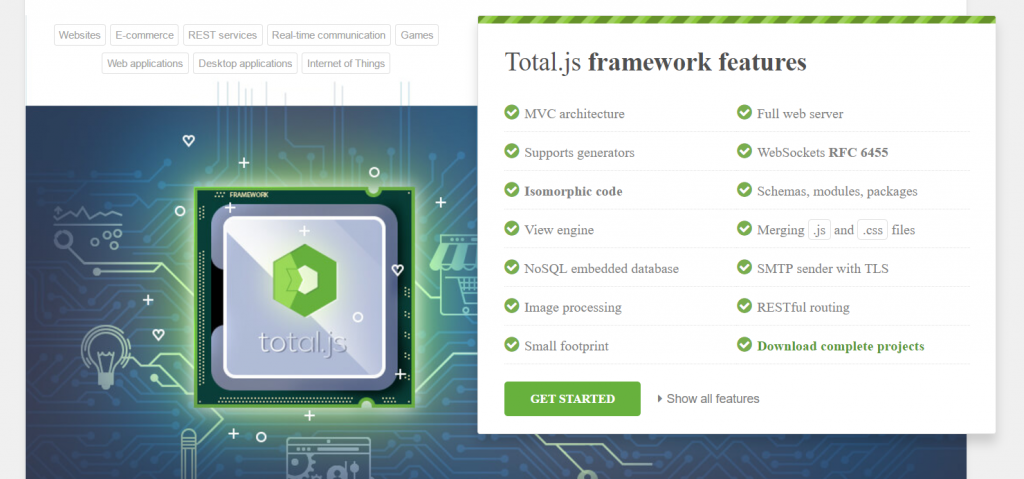
9. Total.js
Total.js is a full stack MVC framework written in pure JavaScript. It has everything other frameworks have and more. What sets it out from the crowd is it’s native support for processing media like images and video streaming.
It’s also compatible with client-side frameworks such as Angular.js, Polymer, Backbone.js, Bootstrap, jQuery, D3, as well as other frameworks mentioned above.
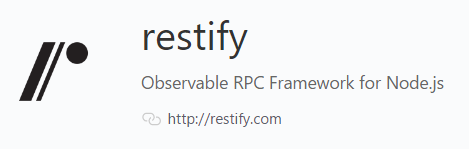
10. Restify
Restify is a Node.js module designed to create APIs by the book, allowing you to create an application that strictly conforms to all the rules of developing a correct REST web service. It focuses on debugging and profiling so that you can isolate systems and optimize your server performance.
Tools for Node.js
Node.js tools are used by web developers and software programmers for a wide variety of applications and workflows. These tools make it easier for developers working with Node.js.
Whether you’re an amateur or an expert developer, these Node.js tools will be useful for you.
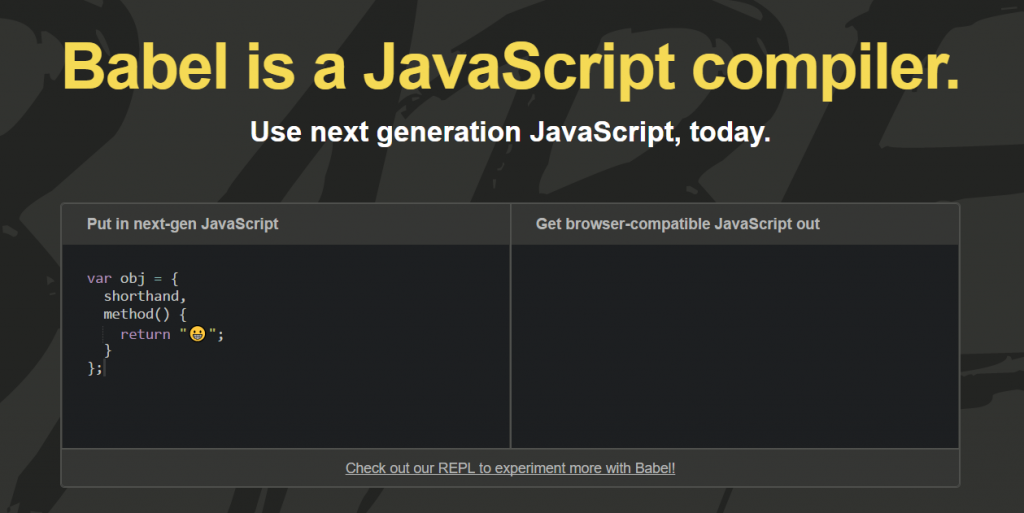
1. Babel
Babel is a JavaScript transpiler commonly used as a tool for front-end development. It allows you to use all ES6 features while compiling ES5 for production. As a result, code readability is improved.
Babel supports the latest version of JavaScript so that you can use the newest syntax without waiting for browser support. It can also be integrated with other JavaScript tools.
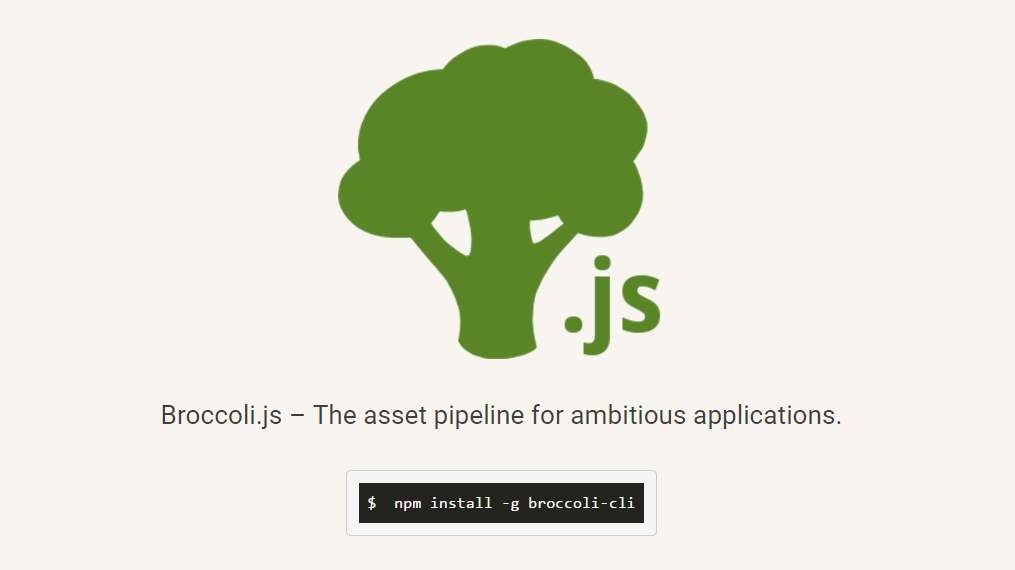
2. Broccoli
Broccoli is a Node.js build tool running on an ES6 module that boasts of blazing rebuild and compile speeds, chainable plugins, and a flexible ecosystem. Broccoli dubbed itself as “the asset pipeline for ambitious applications.”
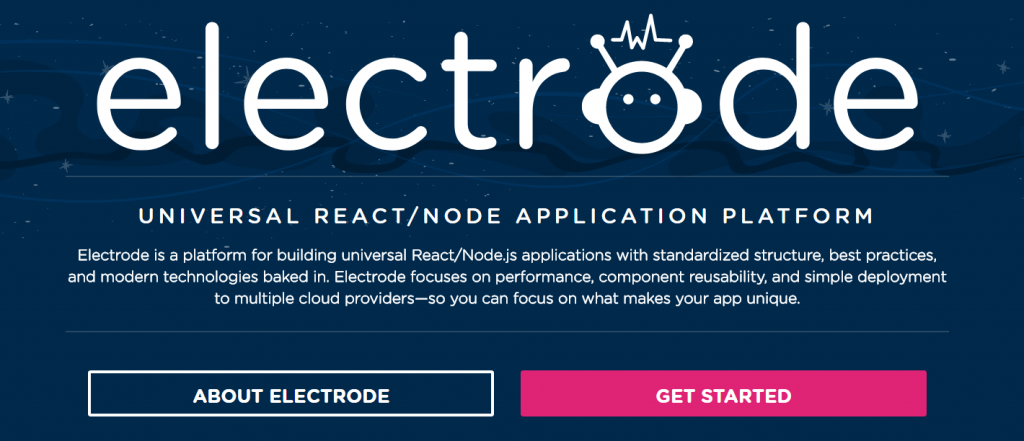
3. Electrode.io
Electrode.io is another tool built by developers of WalmartLab. It’s a universal platform for building both React.js and Node.js applications using the most standardized structures, advanced technology, and best practices.
With Electrode.io, greater focus is placed on consistency and universality instead of configuration and customization. This ensures reusability and performance.
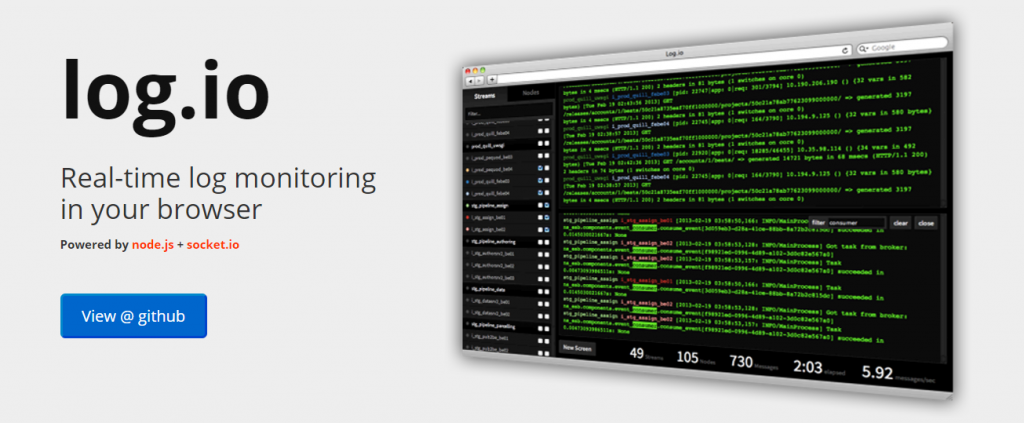
4. Log.io
It can be difficult to monitor hundreds of files spread across various computers. Log.io is a real-time log monitoring tool to help you monitor your deployments and troubleshoot quickly. It exposes a stateless TCP API where you can write your logs to. You monitor your log messages in a single browser session, so you can address issues and bugs immediately.
5. Migrat
Migrat is a simple, yet pluggable, data migration tool that uses plain text. Designed for a variety of stacks and processes, Migrat runs migrations once globally or per server.
Migrat is not tied to any database engine, and can be found on GitHub and NPM.

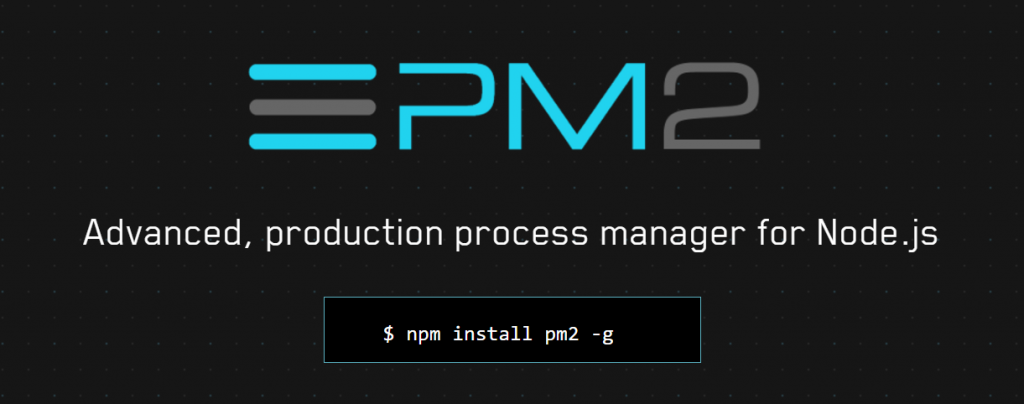
6. PM2
As an advanced production process manager for Node.js, PM2 monitors all launched processes to determine whether they’re running properly.
According to Full Stack Developer, Mariusz Dybciak, “You don’t need to worry about restarting applications after they’ve crashed, PM2 does it for you.” The finance software company, Intuit, and the online payment gateway, PayPal, use PM2.
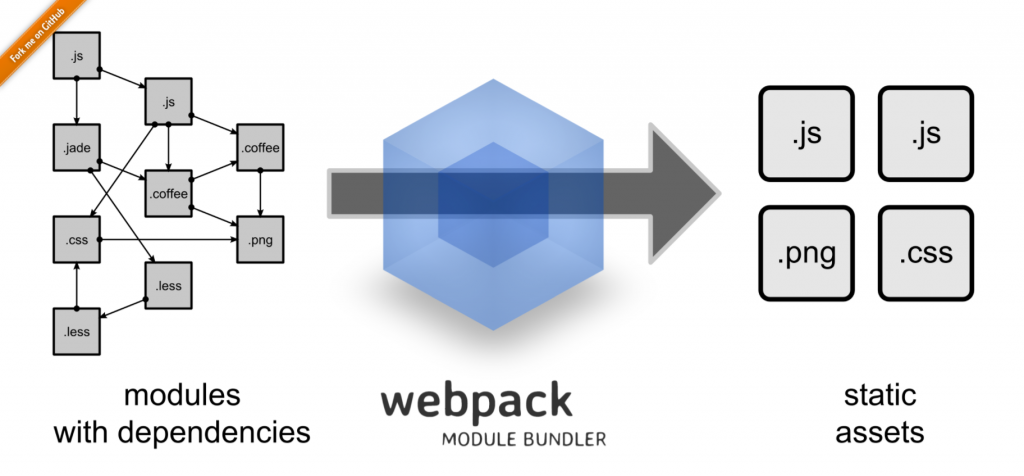
7. Webpack
JavaScript module bundling has been around for several years now, and helps developers and programmers save countless hours of manual labor.
Webpack is a JavaScript module bundler that simplifies deployments by creating bundles, and asynchronously loaded to reduce the loading time. With Webpack, bundling and serving assets are easy, quick, and painless.
Integrated Development Environment (IDEs) for Node.js
An Integrated Development Environment (IDE) is a collection of tools used for a myriad of Node.js web applications. Most IDEs are used as a source code editor, automation tool builder, and a debugger. It lets web and app developers edit and debug their codes accurately and quickly.
We’ve picked out 15 modern and advanced IDEs for Node.js.
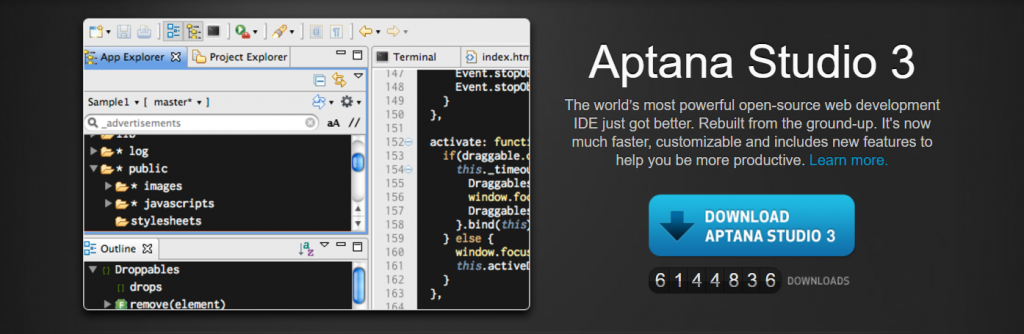
1. Aptana Studio
If you like Eclipse, then you should check out Aptana Studio. It’s an Eclipse-based IDE that was trimmed down to focus on web application technologies and popular frameworks.
With Aptana Studio, you can develop and test applications in a single environment, as it supports the latest browser languages such as HTML5, CSS3, JavaScript, Ruby, Rails, PHP, and Python.
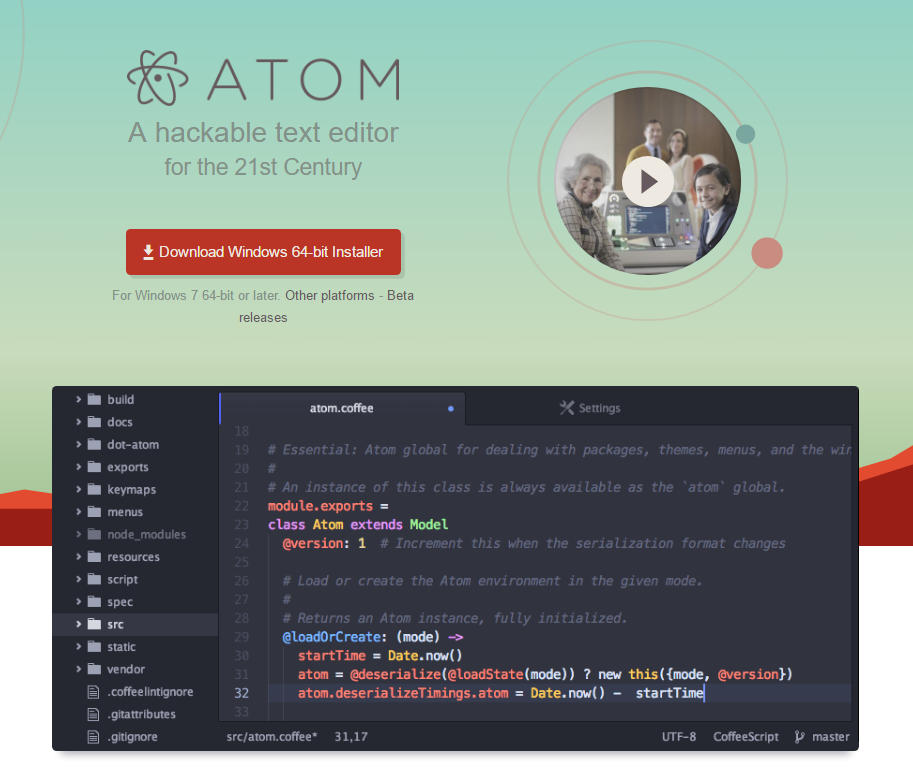
2. Atom
Atom is a modern, open-source text editor built with HTML, JavaScript, CSS, and Node.js integration. Its features include cross-platform editing on OS X, Windows, or Linux, a built-in package manager where you can search, install, and create new packages, and smart autocompletion to help you write codes faster.
The best thing about Atom is that it’s fully hackable and customizable. Even the core packages can be changed.
3. Brackets
Created by Adobe Systems, Brackets is a lightweight but powerful text editor with advanced features that include inline editing, live code previewing, preprocessor support, code folding, and command line integration.
It utilizes visual tools and preprocessor support that make it easy for both front-end developers and web designers to work from the browser.

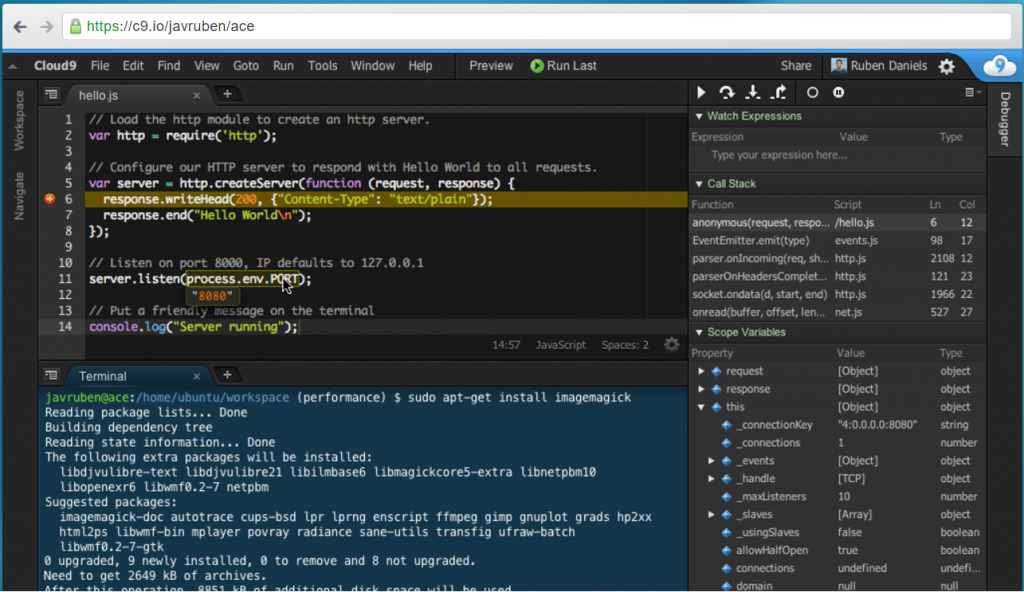
4. Cloud 9
With Cloud 9, web and API development becomes much easier. It combines a powerful online editor with a full Ubuntu workspace in the Cloud so you can write, run, and debug your code.
Its key features include a built-in terminal, language and code completion tools, debugger, split view, and more. These functionalities can also be extended using a quite simple extension manager.
Name brands such as Soundcloud, Atlassian, Heroku, Mailchimp, and Mozilla work with Cloud 9.
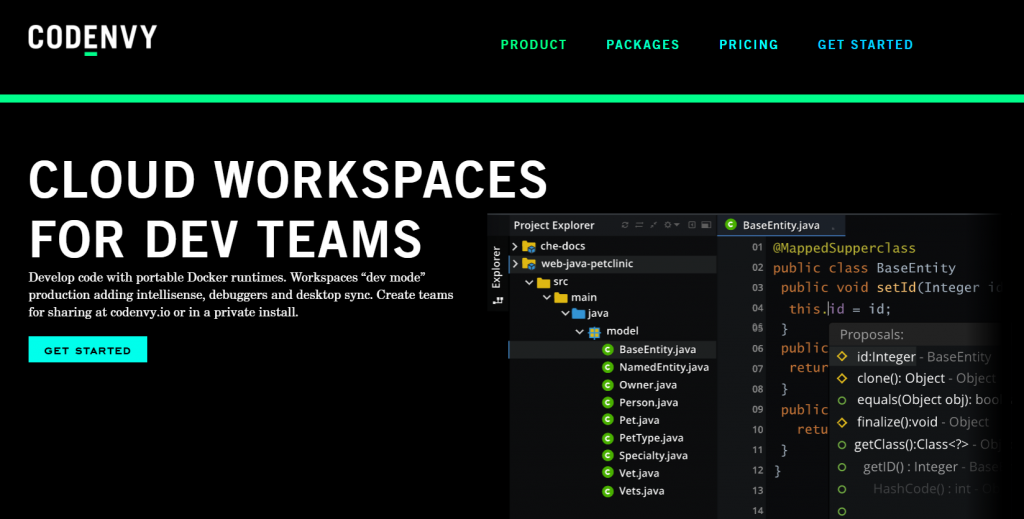
5. Codenvy
Codenvy also provides cloud workspaces for web designers and app developers to write, run, and debug on premise or in the cloud.
Developers can easily collaborate on a single project by using a shared URL. The team can work with their local IDE or the beautifully designed Eclipse Che cloud IDE.
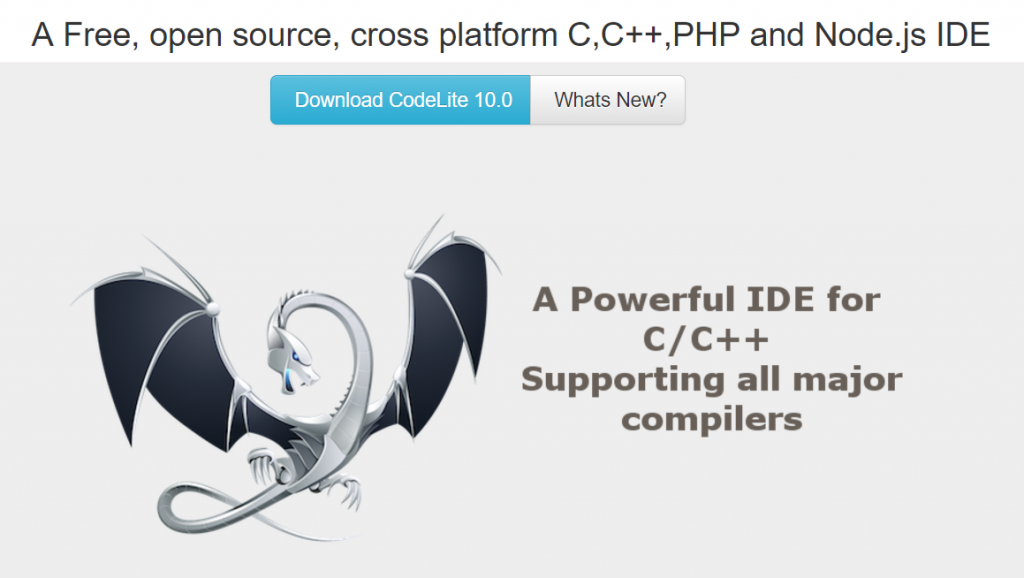
6. CodeLite
An open-source IDE that fully supports Node.js, CodeLite specializes in programming languages such as C, C++, PHP, and JavaScript. Some features include Node.js debugger, intelligent code completion, lightweight memory footprint, and compilers.
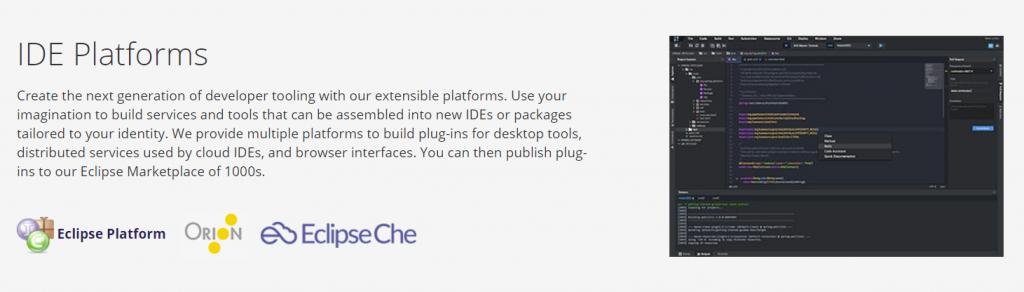
7. Eclipse
Known for its Java Integrated Development Environment (IDE), Eclipse is one of the most popular cloud-based IDEs for web developers. It’s capable of combining language support and other features into any default package. Because it has a very active community, you can find open source plugins and developer tools in the Eclipse Marketplace.
Eclipse is highly-customizable and extendable, with features such as built-in debugger, error checking, source code generation, code refactoring, help window as toy type, and more.
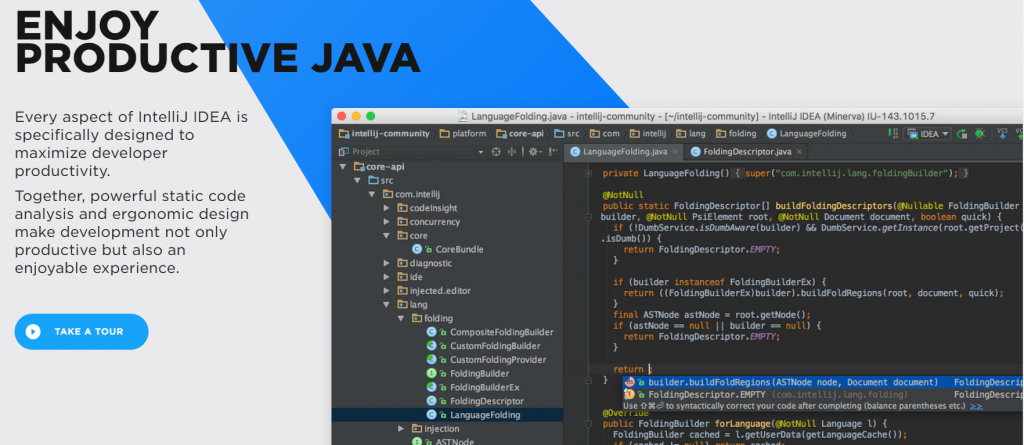
8. Intellij IDEA
Maximize your productivity with Intellij IDEA by Jetbrains, a robust IDE compatible with various technologies such as Node.js, Angular.js, JavaScript, HTML5, and more. Intellij IDEA offers intelligent code completion, code analysis, and refactoring tools.
Another advantage of Intellij IDEA is its productivity-boosting features for Java EE, Spring, GWT, Grails, Play, and other frameworks.
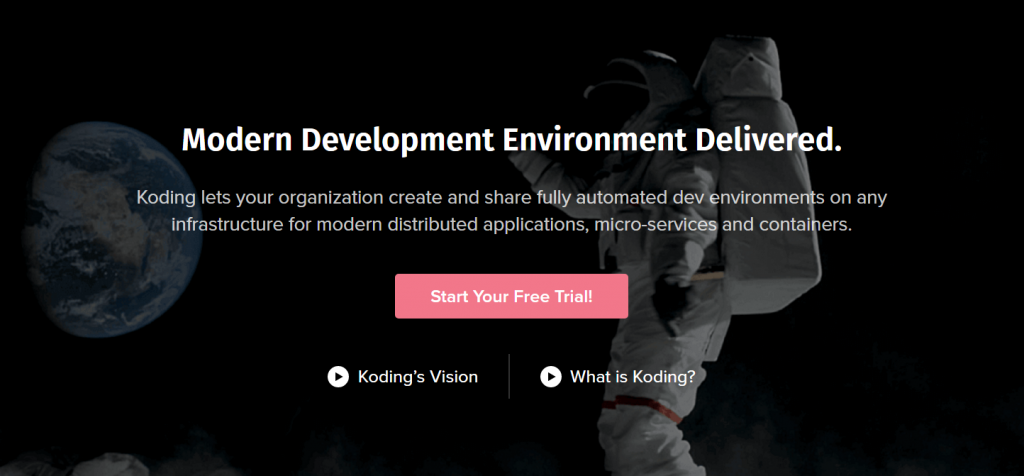
9. Koding
Koding is yet another open-source, cloud-based IDE that offers a smart interface that enables dev teams and managers to streamline their workflows. What’s great about it is its data analytics features for CTOs to locate bottlenecks and loopholes in the process to optimize efficiency and productivity.
Other features of Koding include syntax highlighting, keyboard shortcuts, collapsible panes, cloud workspace, auto indenting, code folding, and code preview using a built-in browser. Koding is ideal for large teams of hundreds or thousands of developers.
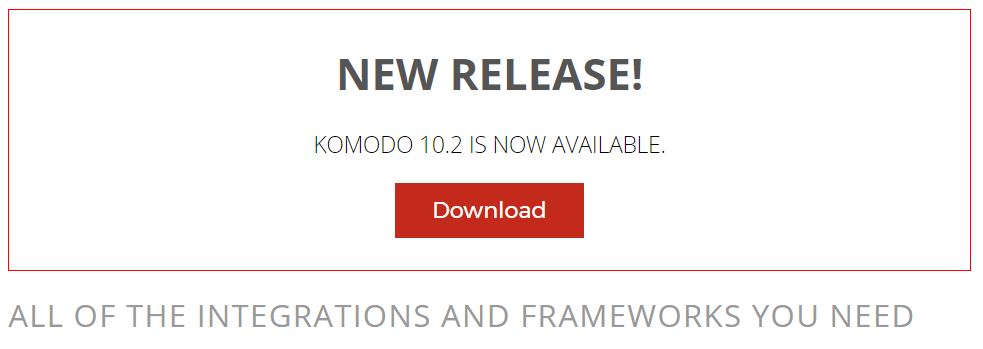
10. Komodo IDE
Komodo IDE is a cross-platform, polyglot IDE that provides a complete set of tools, integrations, and frameworks for a hassle-free web and application development. It supports over 100 programming languages such as Python, PHP, Go, Perl, Tcl, Ruby, NodeJS, HTML, CSS, JavaScript, and more.
Additional features of Komodo IDE include syntax and highlighting, code intelligence, debugging, markdown viewer, and DOM viewer. Komodo also offers multi-cursor support so that you can edit at the same time.
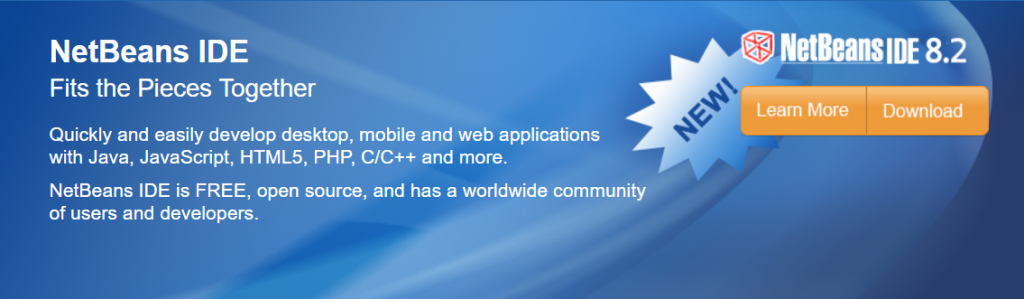
11. NetBeans
NetBeans is a free, modern IDE that supports multi-language programming for desktop, web, and mobile applications. Because it’s an open-source IDE, NetBeans allows developers to work on both the web and the desktop by building their own plugin to meet specific needs and functions.
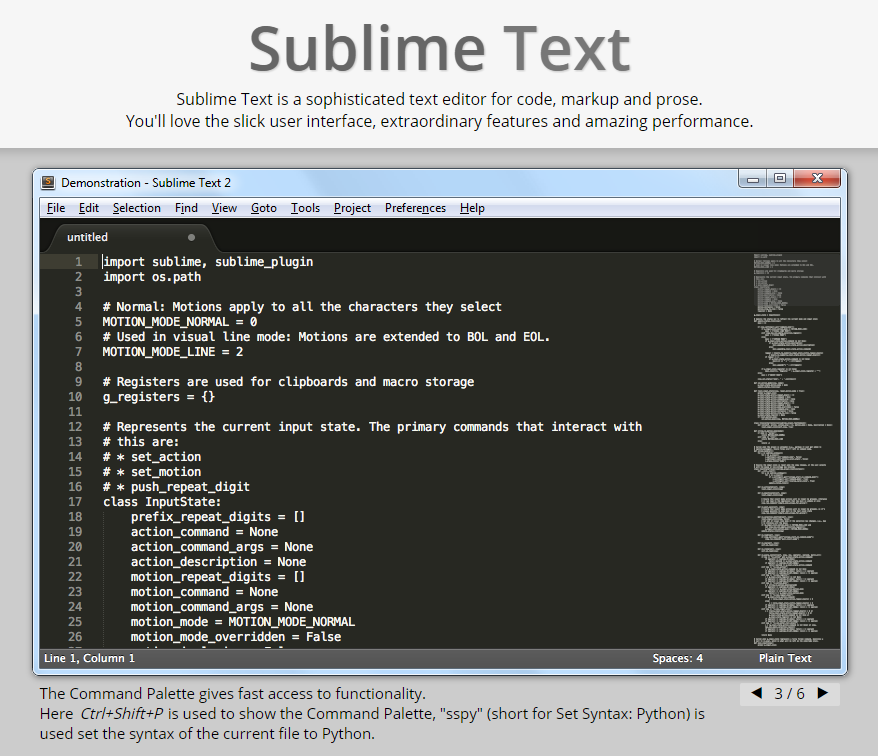
12. Sublime Text
As an innovative text editor for code, markup, and prose, Sublime Text provides a state-of-the-art user interface that allows developers to easily jump to characters, symbols, lines, or words using keyboard shortcuts.
You can also use other advanced features such as split editing, project switching, and multiple selection to rename variables and manipulate your files quickly.
13. WebMatrix
Created by Microsoft, WebMatrix is a simple and lightweight IDE for Windows. It is ideally used for ASP.NET WebPages development and even PHP, HTML, and CSS. WebMatrix includes features such as code completion and built-in templates.
In October 28, 2016, Microsoft announced the discontinuation of formal support for WebMatrix starting November 1, 2017. Community support will continue in its forums.
14. WebStorm IDE
Jetbrains popularized another powerful IDE for modern JavaScript development. WebStorm IDE offers intelligent code completion, rapid error detection, navigation and refactoring for JavaScript, TypeScript, stylesheet languages, and other popular frameworks. The newest version of WebStorm can be integrated with Jest, and supports Vue.js and standard JS.
Developer teams of popular brands such as Yahoo!, Reuters, Soundcloud, Intuit, Wix, Expedia, and BMW use this robust IDE.

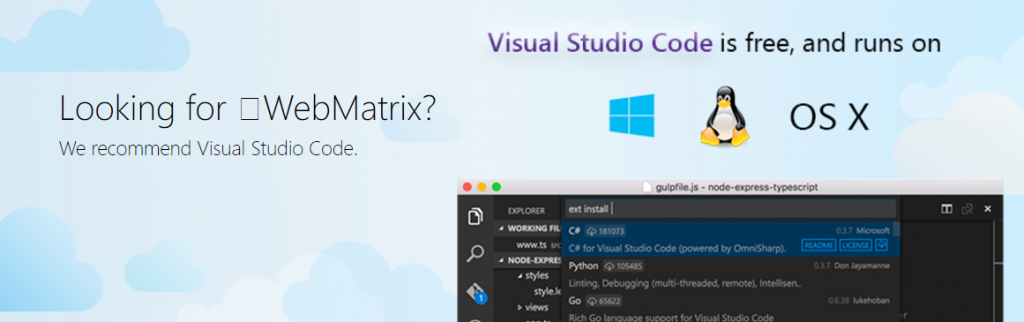
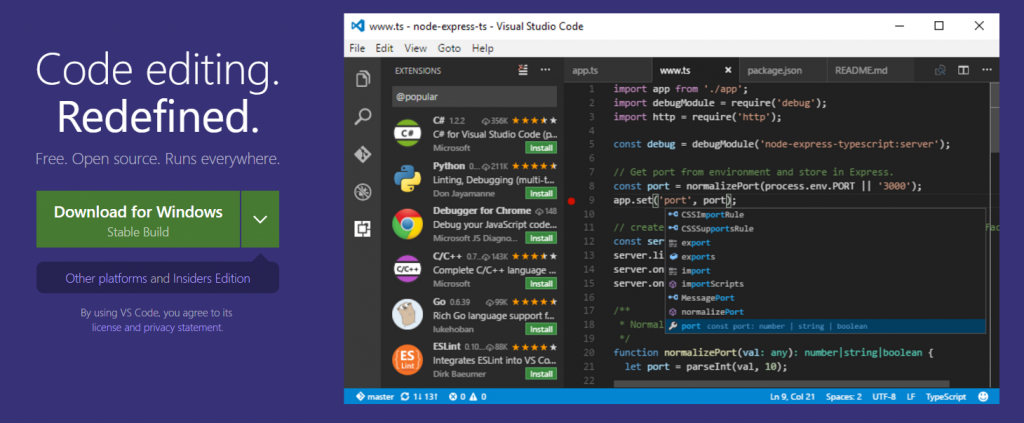
15. Visual Studio Code
Microsoft created Visual Studio Code to replace WebMatrix. Visual Studio Code is a free, open-source editor that runs on OS X, Windows, and Linux that supports operations such as debugging, embedded Git control, task running, and version control.
Other features include syntax and highlighting, IntelliSense code completion, and code refactoring. It supports more than 30 programming languages.
Additional tools and extensions are also provided for Node.js, TypeScript, JavaScript, ASP.NET 5, and more.
Final Words
Node.js is becoming increasingly popular for web and app developers worldwide. Frameworks, tools, and IDEs are useful for both beginners and professional users alike. It makes writing and testing codes a lot easier and faster

Getting Started with Building APIs in Symfony2
Hello all you Interwebs friends! While we're passing through the shallow mists of time, REST is becoming more and more of a universal standard when building web applications. That said, here's a very brief tutorial on how to get started with building APIs in Symfony2.
Spoiler alert: the bits of code written below use FosUserBundle + Doctrine.
1. Generate a New Bundle
It's nice to keep your code neat and tidy, so ideally, you should create a separate bundle that will only store your API code, we can generically name ApiBundle.
$ php app/console generate:bundle --bundle-name=ApiBundle --format=annotation
2. Versioning
This isn't by any means mandatory, but if you believe that your API endpoints will suffer major changes along the way, that cannot be predicted from the get go, it would be nice to version your code. This means that you would, initially, have a prefix in your endpoints, like: `/v1`/endpoint.json, and you'd increase that value each time a new version comes along. I'll describe how to actually create the first version (`v1`) of your API a little further down the line.
3. Install a Few Useful Bundles
- FosRestBundle - this bundle will make our REST implementation a lot easier.
$ composer require friendsofsymfony/rest-bundle
and then include FOSRestBundle in your `AppKernel.php` file:
$bundles = array(

// ...
new FOS\RestBundle\FOSRestBundle(),
);
- JmsSerializerBundle - this will take care of the representation of our resources, converting objects into JSON.
composer require jms/serializer-bundle
and then include JMSSerializerBundle in your `AppKernel.php`:
$bundles = array(
// ...
new JMS\SerializerBundle\JMSSerializerBundle(),
// ...
);
4. Configurations
Configure the Response object to return JSON, as well as set a default format for our API calls. This can be achieved by adding the following code in `app/config/config.yml`:
fos_rest:
    format_listener:
          rules:
              - { path: ^/api/, priorities: [ html, json, xml ], fallback_format: ~, prefer_extension: true }
    routing_loader:
        default_format: json
    param_fetcher_listener: true
    view:
        view_response_listener: 'force'
        formats:
            xml: true
            json: true
        templating_formats:
            html: true
5. Routing
I prefer using annotations as far as routes go, so all we need to do in this scenario would be to modify our API Controllers registration in `/app/config/routing.yml`. This registration should have already been created when you ran the generate bundle command. Now we'll only need to add our version to that registration. As far as the actual routes of each endpoint go, we'll be manually defining them later on, in each action's annotation.
api:
    resource: "@ApiBundle/Controller/V1/"
    type: annotation
    prefix: /api/v1
At this point we're all set to start writing our first bit of code. First off, in our Controller namespace, we would want to create a new directory, called `V1`. This will hold all of our v1 API Controllers. Whenever we want to create a new version, we'll start from scratch by creating a `V2` namespace and so on.
After that's done let's create an action that will GET a user (assuming we've previously created a User entity and populated it with users). This would look something like:
<?php
namespace ApiBundle\Controller\V1;

use FOS\RestBundle\Controller\FOSRestController;
use FOS\RestBundle\Controller\Annotations as Rest;

class UserController extends FOSRestController
{
/**
* @return array
* @Rest\Get("/users/{id}")
* @Rest\View
*/
public function getUserAction($id)
{
     $em = $this->getDoctrine()->getManager();
     $user = $em->getRepository('AppBundle:User')->find($id);

     return array('user' => $user);
   }
}
If we want to GET a list of all users, that's pretty straightforward as well:
/**
 * GET Route annotation.
 * @return array
 * @Rest\Get("/users/get.{_format}")
 * @Rest\View
 */
public function getUsersAction()
{
    $em = $this->getDoctrine()->getManager();
    $users = $em->getRepository('AppBundle:User')->findAll();

    return array('users' => $users);
}
With that done, when running a GET request on `https://yourapp.com/api/v1/users/1.json`, you should get a `json` response with that specific user object.
What about a POST request? Glad you asked! There are actually quite a few options to do that. One would be to get the request data yourself, validate it and create the new resource yourself. Another (simpler) option would be to use Symfony Forms which would handle all this for us.
The scenario here would be for us to add a new user resource into our database.
If you're also using FosUserBundle to manage your users, you can just use a similar RegistrationFormType:
<?php
namespace ApiBundle\Form\Type;

use Symfony\Component\Form\AbstractType;
use Symfony\Component\Form\FormBuilderInterface;
use Symfony\Component\OptionsResolver\OptionsResolver;

class RegistrationFormType extends AbstractType
{
public function buildForm(FormBuilderInterface $builder, array $options)     {
         $builder
             ->add('email', 'email')
             ->add('username')
             ->add('plainPassword', 'password')
        ;
    }

    public function configureOptions(OptionsResolver $resolver)
    {
        $resolver->setDefaults(array(
            'data_class' => 'AppBundle\Entity\User',
            'csrf_protection'   => false
        ));
    }


    public function getName()
    {
        return 'my_awesome_form';
    }
}
Next, we'll want to actually create our addUserAction():
/**
 * POST Route annotation.
 * @Rest\Post("/users/new.{_format}")
 * @Rest\View
 * @return array
 */
public function addUserAction(Request $request)
{
    $userManager = $this->container->get('fos_user.user_manager');
    $user = $userManager->createUser();

    $form = $this->createForm(new \ApiBundle\Form\Type\RegistrationFormType(), $user);

    $form->handleRequest($request);

    if ($form->isValid())
    {
        $em = $this->getDoctrine()->getManager();
        $em->persist($user);
        $em->flush();

        return array('user' =>  $user);
    }

    return View::create($form, 400);
}
To make a request, you'll need to send the data as raw JSON, to our `https://yourapp.com/api/v1/users/new.json` POST endpoint:
{
    "my_awesome_form":{
            "email":"andrei@ibw.com",
            "username":"sdsa",
            "plainPassword":"asd"
    }
}
And that's all there is to it.
We haven't covered the cases where you'd want Delete or Update a user yet. Updating resources through the REST standards can be done using either PUT or PATCH. The difference between them is that PUT will completely replace your resource, while PATCH will only, well, patch it... meaning that it will partially update your resource with the input it got from the API request.
Let's get to it then. We'll use the same form as before, and we'll try to only change (we'll use the PATCH verb for that) the email address, username and password of our previously created user:
/**
 * PATCH Route annotation.
 * @Rest\Patch("/users/edit/{id}.{_format}")
 * @Rest\View
 * @return array
 */
public function editAction(Request $request, $id)
{
    $userManager = $this->container->get('fos_user.user_manager');
    $user = $userManager->findUserBy(array('id'=>$id));

    $form = $this->createForm(new \ApiBundle\Form\Type\RegistrationFormType(), $user, array('method' => 'PATCH'));

    $form->handleRequest($request);
    if ($user) {
        if ($form->isValid()) {

            $em = $this->getDoctrine()->getManager();
            $em->persist($user);
            $em->flush();

            return array('user' => $user);
        } else {
            return View::create($form, 400);
        }
    } else {
        throw $this->createNotFoundException('User not found!');
    }
}
The request body is the same as the one shown for the POST method, above. There are a few small differences in our edit action though. First off - we're telling our form to use the PATCH method. Second - we are handling the case where the user ID provided isn't found.
The Delete method is the easiest one yet. All we need to do is to find the user and remove it from our database. If no user is found, we'll throw a "user not found" error:
/**
 * DELETE Route annotation.
 * @Rest\Delete("/users/delete/{id}.{_format}")
 * @Rest\View(statusCode=204)
 * @return array
 */
public function deleteAction($id)
{
    $em = $this->getDoctrine()->getManager();
    $user = $em->getRepository('AppBundle:User')->find($id);

    $em->remove($user);
    $em->flush();
}
Related: Routing in Symfony2
Conclusions
Aaand we're done. We now have a fully working CRUD for our User Entity. Thanks for reading and please do share your opinions/suggestions in the comment section below.

How to Overwrite the OS on an Ecrypted Machine
I've recently come across a situation where I had an encrypted Samsung laptop that needed a reimage. The previous owner had encrypted the HDD so that no one who would find /steal the laptop could access the data from it, which made it difficult to even boot from the USB I wanted to use, as it always loaded the OS it had installed.
How to Overwrite the OS on an Ecrypted Machine
If you are ever in this situation, here is what needs to be done to make the laptop usable again:
- Boot the computer → BIOS
- Go to Advanced → Fast Bios Mode → set it to disabled (this will allow you the needed time to boot the OS from the bootable USB stick/CD/DVD you plan to use)
- Then go to Boot Priority order and set them as follows:
- USB HDD (the bootable USB I used in my case)
- SATA HDD
- …
- Ubuntu → disable it (this was the OS previously installed on the laptop – this step is optional)
- Reboot → Install OS
- Reboot → Advanced → Fast Bios Mode → Enabled
- Celebrate.
How to Overwrite the OS on an Ecrypted Machine
You could also install the OS from Live mode and use EFI mode to delete the previous record of the OS used, so that there wouldn't be multiple entries of the same OS. What is mandatory for Samsung laptops is to disable the Fast boot mode and the order for boot devices to be set 1st for the bootable USB you plan to use, the purpose here being installing a new OS (be it Ubuntu or anything else).

c
Customer support has been designed to be a link between the customer and the product. Now, even though we may be super smart and figure out almost everything on our own, there may come a day when customer support is needed. Here are 10 things to keep in mind in order to get the best out of a support interaction:
10 Ways to Get the Best out of Customer Support

Test Drive: Google Polymer
Before we get started there is one thing we have to know: the latest version of Polymer at this moment is 0.5.4 and it was launched on January 28th, 2015 and is still in developer preview.
This should give us an idea about the stage of this technology and make us ask ourselves if it really is ready to be used on production?

10 Awesome CSS Tips and Tricks
This is a collection of CSS tips, tricks, and fixes, or whatever you want to call them, that I stumbled upon along the way. I have to say from the very beginning that you can find most of these, if not all of them, familiar. On the other hand, I really hope that some of you might learn something new from this post. So let's begin.
How to (Easily) Debug a Rails Application
Hello all you party people! This article will show you how you can easily debug your Rails code.
If you're using the default Rails Rack server, Webrick - the best debugging tool I've been able to find out there is pry. Its use is pretty straightforward:
First off you'd need to add the pry gem to your Gemfile. Since this is used for development purposes, it should be added in the :development group:Read more
How to Convert Web (HTML) Pages into PDF Files
Here's a collection of steps needed to create PDF files directly from HTML web pages.
How to Convert Web (HTML) Pages into PDF Files
If you're working on a Ubuntu Linux machine, the first thing you need to do is to install the WKHTMLTOPDF library, by running the following commands into your terminal:Read more
iOS vs. Android – Which One Should You Choose?
Six users, six questions. After a (very) long research about which mobile OS is better between the two, I realized that the simplest way to find that out is by actually talking to people that use them. As you might expect, everyone has its own requirements and tastes, but in the end, one of the two OSs clearly stands out.
How I Came to Love Ruby
It wasn’t so long ago that I had no idea how everything worked in world of WWW. But that all changed when I got a technical support job at IntelligentBee. Working in a web development company (even though your job doesn’t have any tangency to the actual development role) opens a whole set of learning opportunities that will ultimately describe a whole new wonderful world. From that point on, my task was pretty simple: be curious about how stuff works and don’t be afraid to ask questions.
How I Came to Love Ruby
Why Ruby ? It's incredibly similar to English. Yes, to the actual English language. Read more